If you have arrived here from the Sew Sisters Blogathon Canada - Welcome, thanks for stopping by and hope you enjoy the blog hopping.
I made some great progress this weekend on the castle pillow. I had these gorgeous fabrics from Timeless Treasures called Matilda that I wanted to use on the back.
I have a copy of the Pillow Pop book and love the 'Bunch of Crosses' pattern by Katy Jones. So I set to cutting out lots of strips and 2.5" squares.
I wanted the back to be an envelope style as I am not keen putting zippers in! I struggled for a while with thinking I would have to have the pluses match up over the overlap. But it made the brain hurt too much so decided I should let it go and not worry about it!

Natalia Bonner in her Free Motion Quilting book has a leaf and loops and a flower and loops design which thought would go well with the fabrics. So I decided to use the leaf design with the odd flower mixed in. I tried to make my leaf look like those on the fabric (or a close as I could get it!).
 |
| Leaf and Flower Quilting pattern |
About 4 years ago I quilted a quilt with free machined daisies a bit like the one above and I remember having to have the design printed on paper (many times) so I could stitch the design on the paper over the lines to make it look how I wanted! I wasn't brave enough to just free motion quilt! My mum and I then spent a good few hours carefully pealing the paper off the stitching, what a palaver! I am so pleased that I can now, fairly confidently, stitch a daisy without markings but more importantly (to me) not worry about them not all looking the same or perfect! Progress! :)
I bound the edges of the overlap using a normal quilt binding in the lovely orange solid. I would usually hand stitch down the binding to finish it off, but I thought I would use the machine instead. It worked! I am always quite surprised when I try something new and it actually works!
Although it worked well here, it had (what I consider) quite a large flap on the back that I wasn't so keen on. So I don't think I will make it my regular binding finishing method.
Next I turned my attention back to the front of the cushion. I talked about the making of it here and here. I felt the castle needed some embellishment to brighten it up a little. I started by adding a person into one of the windows and some vines growing up the castle walls.
 |
| Castle Details |
I added a few birds to the sky using a perlé thread and my eldest daughter had some cute buttons in her sewing supplies - a dragonfly and a ladybird in pink! Prefect! So here we have the finished front:
 |
| Finished Castle Pillow Front |
Finally, I bound it all using the orange solid, et voila:
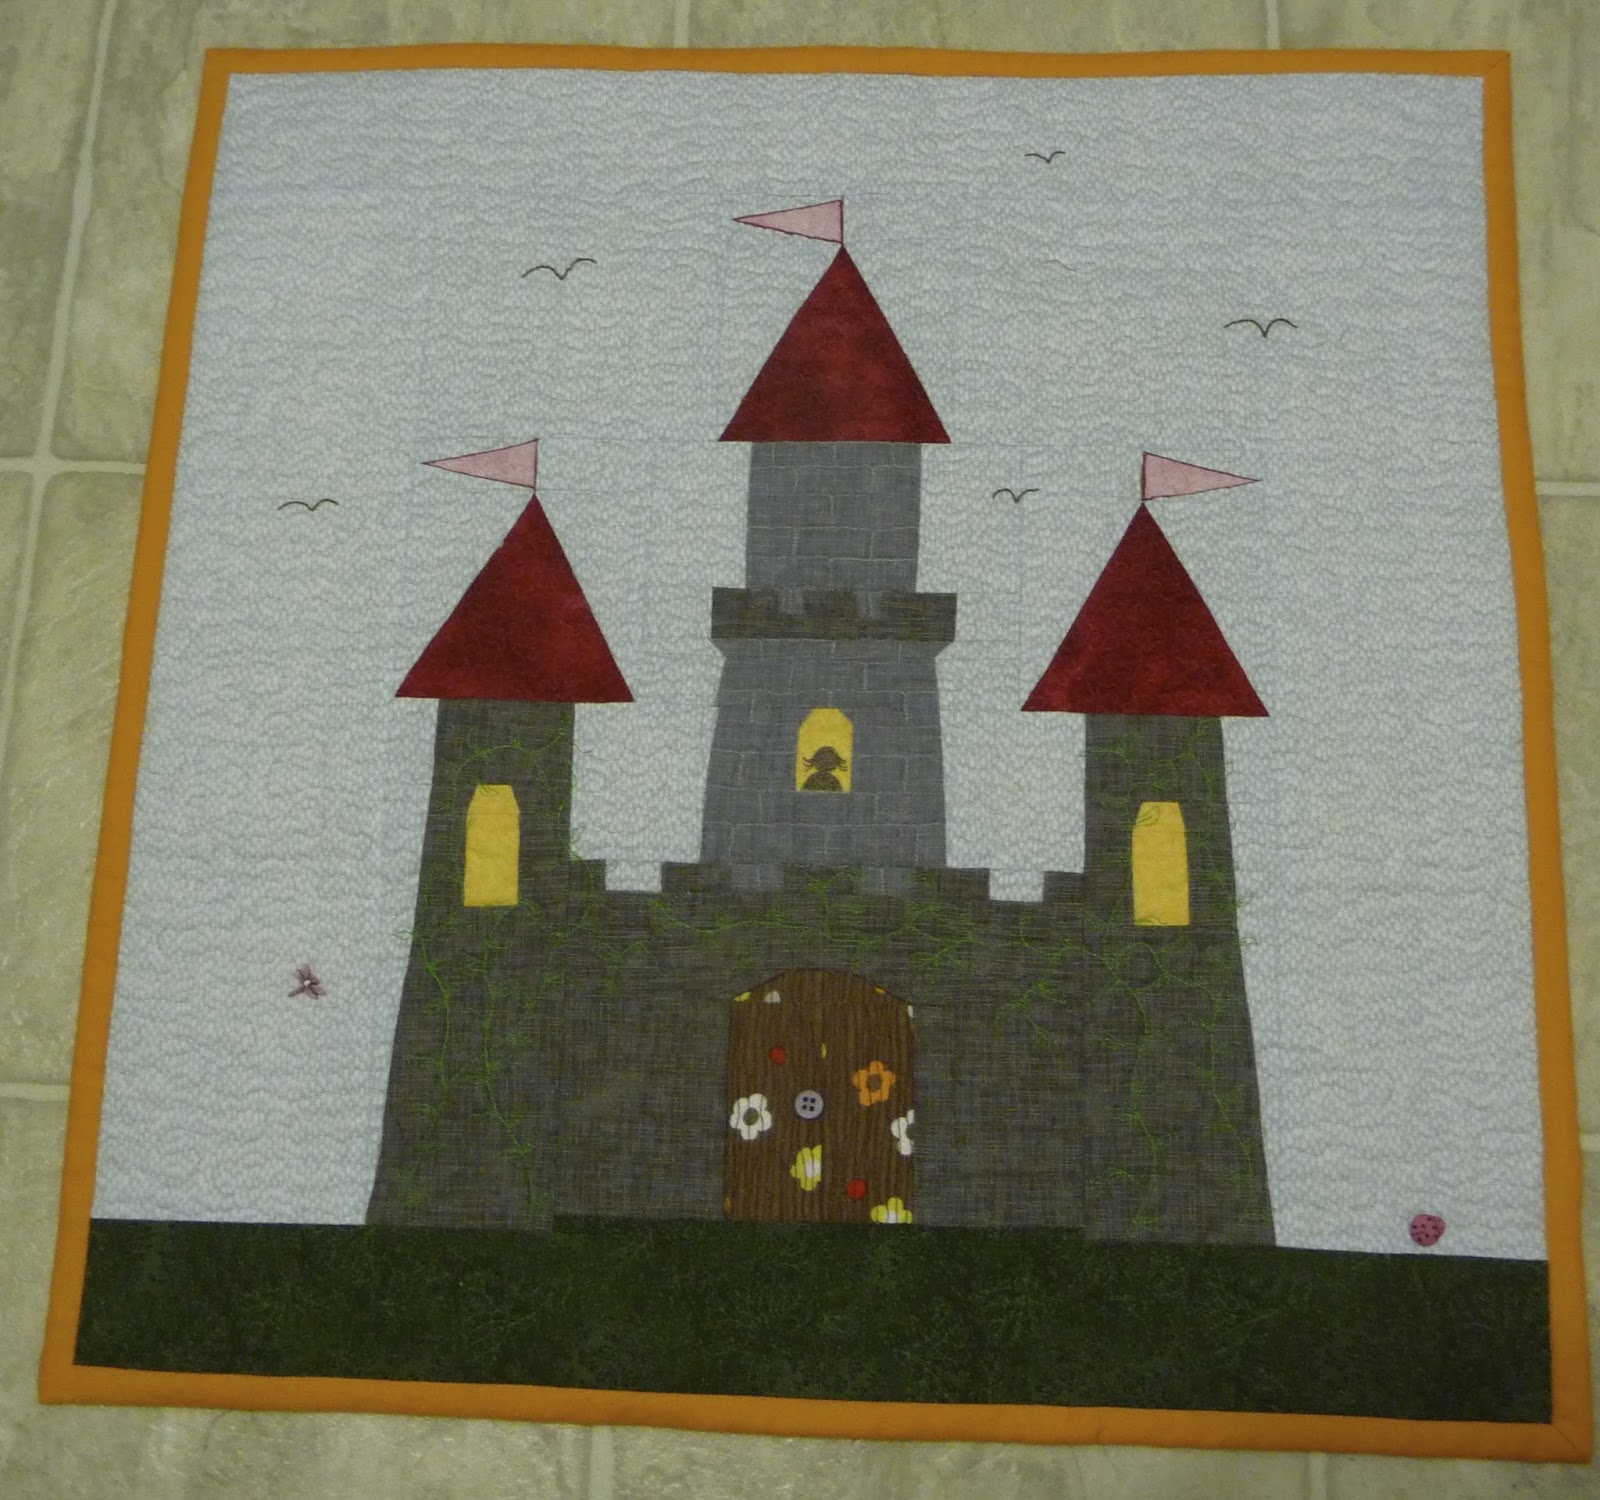 |
| Pillow front |
 |
| Castle Pillow Back |
These pictures don't do the much for the colours, that's what comes of finishing things late in the evening and not having good lighting!
I have just put a cushion pad inside and can see I will have to add a couple of buttons to the back to keep it closed together properly.
I am really pleased with it! My only real concern is that there isn't much pink on this cushion and the littlest one is a very pink person. She saw the backing on the design wall whilst under construction and I asked her what she thought of the fabrics, and she didn't seem overly impressed with them! Perhaps altogether with the castle she will have a different response… So now onto planning the princess party and to making a castle cake! It's all about the castle this year, oh to be 5 again!
 |
| Castle Pillow Front |
Linking to A Lovely Year of Finishes.